Introduction
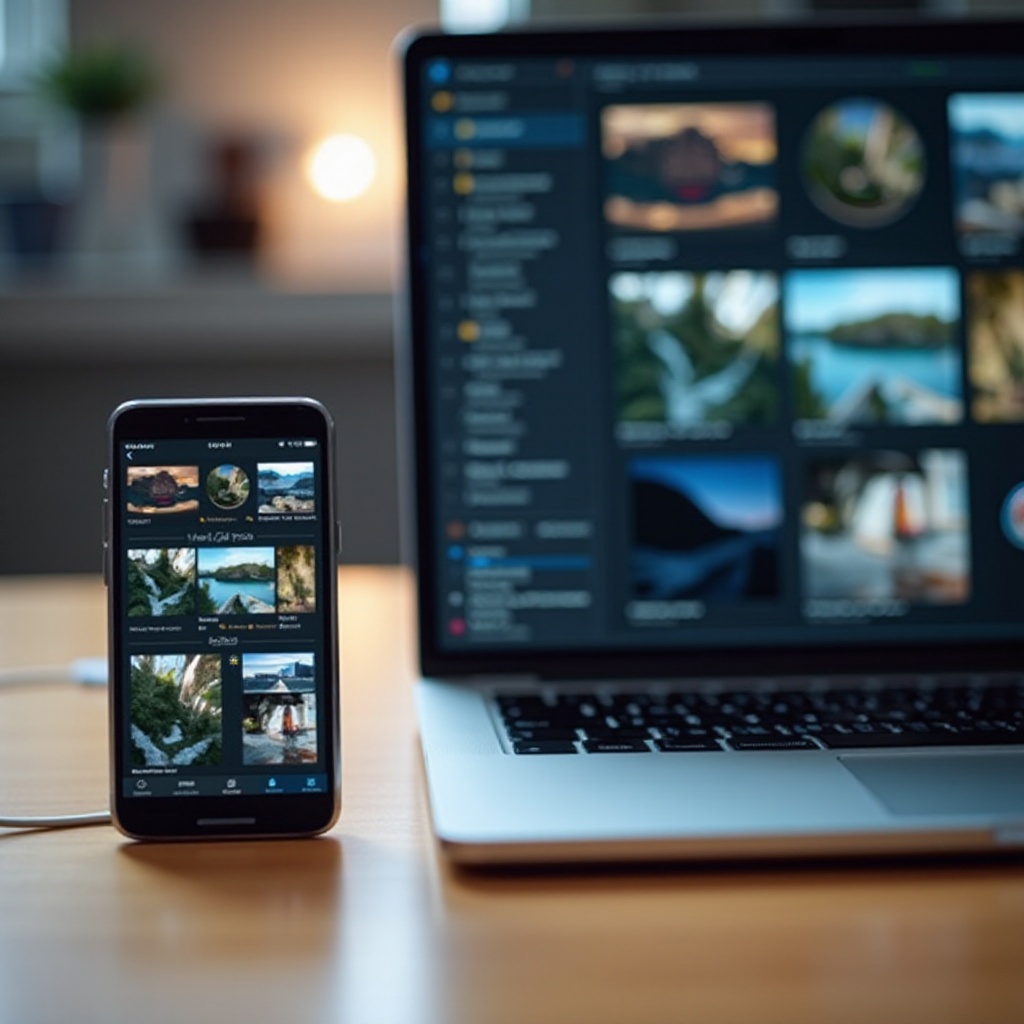
Transferring photos from your phone to your computer can sometimes seem daunting. Many of us store so much of our digital life on our mobile devices, but managing and sharing these memories is crucial. Whether you’re an iPhone or Android user, linking your phone pictures to your computer is essential for effective photo management. This guide provides clear, step-by-step instructions for different methods, including using cloud services, USB cables, and third-party apps. We’ll also cover best practices for managing your photo library and troubleshooting common issues. So, let’s dive in and make photo transfer hassle-free!

Step-by-Step Guide for iPhone Users
iPhone users have several options for transferring photos to their computers. Let’s explore three different methods.
Using iCloud Photos
- Ensure your iPhone is connected to Wi-Fi.
- Go to Settings on your iPhone.
- Tap on your name at the top, and select iCloud.
- Tap on Photos and enable iCloud Photos.
- On your computer, open a web browser and go to iCloud.com.
- Sign in with your Apple ID.
- Click on Photos and browse for the photos you want to download.
- Select and download your photos to your computer.
Using a USB Cable to Transfer Photos
- Connect your iPhone to your computer using a USB cable.
- A prompt will appear on your iPhone; tap Trust This Computer.
- On your computer, open the Photos app (Windows or Mac).
- Select Import and choose the photos you want to transfer.
- Click Import Selected.
Using Third-Party Apps
Various apps facilitate transferring photos from your iPhone to your computer.
- Download and install a reliable app like Google Photos, Dropbox, or OneDrive on your iPhone.
- Upload your photos to the app.
- Install the app on your computer.
- Open the app and sign in with the same account.
- Download your uploaded photos from the app to your computer.
As you can see, iPhone users have multiple effective methods to ensure their photos are backed up and accessible on their computers. Next, let’s explore the process for Android users, which equally provides ease and flexibility.

Step-by-Step Guide for Android Users
Android users also have several options for transferring photos to their computers. Let’s go through three effective methods.
Using Google Photos
- Ensure your Android phone is connected to Wi-Fi.
- Open the Google Photos app on your phone.
- Tap on your profile icon and select Back up & sync.
- Ensure the toggle for Back up & sync is turned on.
- On your computer, open a web browser and go to photos.google.com.
- Sign in with your Google account.
- Browse your photos and download the ones you want to your computer.
Using a USB Cable to Transfer Photos
- Connect your Android phone to your computer using a USB cable.
- On your phone, a notification will appear. Select File Transfer from the options.
- On your computer, go to File Explorer (Windows) or Finder (Mac).
- Open your Android device’s storage.
- Locate and select the photos you want to transfer.
- Copy and paste or drag and drop the photos to your computer.
Using Third-Party Apps
Several apps can help you transfer photos from your Android to your computer.
- Download and install a reliable app such as Dropbox, OneDrive, or Google Drive on your Android device.
- Upload your photos to the chosen app.
- Install the same app on your computer.
- Open the app and sign in with the same account.
- Download your uploaded photos from the app to your computer.
Whether you use an iPhone or an Android device, the steps are user-friendly and straightforward. Now that your photos are successfully transferred, it’s time to consider best practices to ensure your photo library remains organized and well-maintained.
Best Practices to Manage Your Photo Library
Managing your photo library efficiently is important to keep your collection organized and easily accessible.
Organizing Photos Automatically
- Use apps like Google Photos or Apple Photos which offer automatic sorting features.
- Take advantage of features like albums or tags to classify your images by event, date, or person.
Regularly Backing Up Your Photos
- Make it a habit to back up photos frequently to a cloud service like iCloud, Google Drive, or Dropbox.
- Set automated backups to prevent data loss.
Deleting Unnecessary Photos
- Regularly review and delete blurry, duplicate, or irrelevant photos.
- Use apps that help you identify duplicate photos and clean up storage space.
Efficient photo management not only helps in keeping your library organized but also ensures that you never run out of storage space. However, even with the best practices, occasional issues may still arise. Let’s look at some common problems and their solutions.
Troubleshooting Common Issues
Even with the best methods, you might face some challenges. Let’s look at common problems and their solutions.
Connectivity Problems
- Ensure your phone and computer are on the same Wi-Fi network when using cloud services.
- Check if the USB cable works and try another port.
Storage Limits
- Upgrade your storage plan on iCloud or Google Drive if you run out of space.
- Use external hard drives to store large photo collections.
Missing Photos
- Check if Back up & sync or iCloud Photos is enabled.
- Ensure you’re searching the correct folders or albums on your device.
Addressing these common issues ensures that the photo transfer process remains smooth and hassle-free. Following these solutions helps resolve connectivity, storage, and access challenges effectively.

Conclusion
Linking your phone pictures to your computer shouldn’t be a challenge. With the right methods, such as using cloud services, USB cables, or third-party apps, you can effortlessly manage your photo library. Remember to follow best practices for organizing, backing up, and deleting photos to keep your collection tidy. If issues arise, troubleshooting tips can help solve common connectivity, storage, and missing photo problems. By following this comprehensive guide, you’ll ensure your cherished memories are safely transferred and well-maintained.
Frequently Asked Questions
How can I ensure my photos remain high quality during transfer?
To maintain high quality, use reliable apps that offer full-resolution transfers, such as **iCloud Photos** or **Google Photos**. Avoid compressing images during transfer.
What if my computer does not recognize my phone?
First, ensure your USB cable and port are functioning correctly. If needed, restart both your phone and computer and try again. For further issues, check your phone’s settings or refer to the manufacturer’s support.
Are there any secure ways to transfer photos without using cables?
Absolutely! Cloud services like **iCloud**, **Google Photos**, and **Dropbox** offer secure, wireless transfer options. These services use encryption to keep your photos safe during the transfer process.